Home Gym Biomechanics: Why Station Resistance Keeps Constant as You Move

SincMill SCM-1148L Home Gym Multifunctional Full Body Workout Equipment
A multi-station home gym hides a small biomechanics problem inside its simplest feature. A cable pulley station holds the tension you feel nearly steady from the top of a rep to the bottom, and that constant resistance is not a cosmetic detail. It shapes how each muscle is loaded, how heavy you can safely start, and what a training week should look like. This guide works through one popular cable-and-pulley machine - the SincMill SCM-1148L Home Gym Multifunctional Full Body Workout Equipment - because its stations cover the movement patterns you will find on most comparable units; understanding the mechanism first is what makes the training plan second.

How Cable Resistance Stays Constant Through the Rep
Most of what makes a pulley station different from free weights comes down to how resistance reaches the joint. In a barbell or dumbbell, the load is fixed, but the effective moment arm at the joint changes as the limb moves through space, so the same weight feels heavier near one end of the range and lighter near the other. A cable system replaces the changing bar with a line that wraps through a pulley. The line pulls along its own direction, and the weight stack behind it creates a tension that is set by the selector pin and held nearly flat across the whole range of motion, with only small variations where the cable leaves the pulley at different angles.
What Constant Tension Actually Means in a Home Gym
Constant tension in a cable machine is the property that the load at the joint stays close to the value the selector pin set, from the top of the range to the bottom, because the force behind the line is gravity acting on the selected weight, not a lever being moved through the air. Only three things can change it in use: the angle between the cable and the limb, where the cable leaves the pulley changes slightly through the movement and shifts a few percent of load onto the joint; the number of sheaves the line runs over, where each deflection point costs a small share of tension through friction; and the friction in the guide rods and pulleys, which adds a few more pounds of drag on a worn machine and takes them away on a well-maintained one. Everything else in the rep is steady, and that steadiness is the part that home gym biomechanics cares about most.
A worked example makes the shape of the difference concrete. Take a lat pulldown. With free weight, the load at the elbow peaks when the arm and the weight hang close to vertical and falls toward zero as the bar reaches the chest, because the moment arm shrinks as the limb shortens the path. With a cable, the same selector pin value pulls at essentially the same number of pounds at the full extension at the top, at mid range, and at the point where the bar touches the chest, only the angle of pull rotates as the bar travels. The muscle therefore never sees a dip in load and never sees a spike either, which is exactly the point: the weakest stretch at the bottom is not punished with the heaviest part of the movement, and the strongest mid position is not let off the hook. A dumbbell curl, by the same math, peaks in effort near vertical and fades at full extension, so the last third of the arc barely loads the bicep at all; a cable curl from the same pin value keeps loading the muscle all the way down the range, which is why two machines set to the same number of pounds feel like completely different exercises at either end.
That steady tension matters more than it looks. Muscles produce their peak force at mid-range and lose force as the joint approaches full stretch, so the point in a rep where a muscle is geometrically weakest is also the point where it is most stretched and most prone to tearing if the load spikes. A station that keeps its tension constant does not let the weak points get any harsher than the strong ones. The practical result is that you can sit down and work a full range at one selected load, because the machine has already equalized the leverage for you. This is also the direct answer to the home gym biomechanics question of why cables improve joint loading: instead of adding a rack, plates, and a bench to add a free-weight resistance curve, the pulley gives you the constant-load version of the same movement in the same footprint, so the joint gets a smoother force profile across the whole range.
Cable Versus Dumbbell Resistance Curves
Where the free-weight curve tilts is not a small detail and not a reason to prefer one tool over the other; it is the entire argument for adding a cable station to a home setup that already has dumbbells. The comparison is worth working through because the two curves do not just differ in size, they differ in shape, and the shape decides when during a rep each muscle is under the most strain.
The dumbbell curve is driven by the moment arm. Every free-weight movement has a position where the limb lines up so the weight sits directly over the joint, and at that position the gravitational load through the bone axis is at its smallest, sometimes near zero. A bicep curl reaches that position at the top of the arc, which is why the last two inches of a dumbbell rep feel nearly weightless no matter how heavy the bar is, and the same geometry is why the first two inches out of the bottom feel heaviest. The curve therefore runs steep at one end, flat at the other, and every rep retraces the same uneven load shape. Add the fact that the muscles themselves are weakest at long stretch, and the two facts stack: the hardest stretch in the range is also where the muscle produces the least force, and it is exactly where the dumbbell load is at or near its minimum. The free-weight curve, in other words, asks the weakest part of the muscle to do the least work.
The cable curve is the opposite shape. The line holds tension flat, so the moment arm of the cable to the joint is what changes across the range, not the force, and the force itself stays at the pin value from top to bottom. The result is that the stretched position, the one where the cable applies the full selected load and where the dumbbell curve is fading out, is exactly where the free weight and the cable disagree the most, and that disagreement is the whole point of cable versus free weight, the core question in home gym biomechanics about which load shape a given movement should run through.
The practical split looks like this. Free weights remain the stronger tool for patterns where the movement quality comes from balancing the load, the squat, the press, the carry, because the wobble and the coordination are part of the adaptation and a cable cannot replicate either of those demands. The cable takes over the patterns where the stretch position is the target, the low pulley fly, the bottom of the lat pulldown, the end of a curl, and running both in one week is the split that uses each tool where its curve is doing work the other leaves empty. A short, deeper read on how those two load shapes trade places across the range is covered in this analysis of progressive and isotonic resistance, which is useful to have beside you when you are deciding where a given set belongs on the week.
Which Rep Range Fits the Constant Load
Because the tension does not dip to zero anywhere in the range, the rep range you should program is a bit narrower and heavier than pure beginners often assume. A useful default for an unfamiliar station is three to four sets of eight to twelve reps, where twelve is the ceiling and eight is the floor. If all twelve reps feel light on every set for two sessions in a row, the correct response is a small increase in load, not a run of fifteen or twenty. Going very high on a constant-tension line means the last reps happen at the muscle's longest stretch under full load, which is where tissue stress concentrates, so extra reps add little value and raise the risk, because on a constant line the top of the range carries no slack to fall through.
The inverse is also true. A set of five to six hard reps teaches the nervous system to coordinate under real load, and the moment you can complete the bottom of the range cleanly at the same tempo for three straight sessions, the cue for an increase is present. The rep number is a dial, not a goal, and the constant resistance simply means the dial can be moved in smaller steps than with a barbell, where a five percent jump changes the whole arc. The same logic applies to the bench you might use for presses beside the cable stations, and the failure patterns that keep benches and stacks out of service long-term are documented in this breakdown of the physics and engineering of weight benches, because the machine that catches a failed rep is part of the same system as the one delivering the load.
Choosing a Starting Load That Stays Safe
The safest way to find your starting load is to use the machine's own selector pin as a calibration tool rather than guessing from a strength table. Pick a pin, complete the first two reps slowly, and pay attention to how the last quarter of the range feels. If the cable feels dead easy near the end of the arc, the stack is too light, because constant tension means the end of the range gets the same load as the start. If the last rep is a struggle but the path stays clean, you have the working weight for that movement. If the form breaks or you cannot finish, drop one pin and repeat. Doing this at every new station takes about five minutes and replaces the most common injury mechanism at home gyms, which is selecting the load from habit or memory instead of from the range itself.
The same principle travels to the free-weight corners of the room and to the loaded leg stations that share the footprint with the cable. A leverage squat, which offloads the spine so the load lands on the legs instead of the vertebrae, is one of the better tools for teaching that pattern, and the logic of where the load should sit on the body is the same logic that decides where the cable should sit on the joint, covered in more detail in this look at spine-safe loading on a leverage squat machine. In every case the answer is the same: let the range itself tell you the load, not a table you found somewhere else.
How Much Weight Does the Stack Really Offer
The selector pin sets the maximum the machine can hand you, and the SincMill SCM-1148L tops out at a 148-pound stack. In practice, the headline number on a home machine's column is the full weight of the stack as shipped, so the usable pin range comes in below that total. For most home lifters that spread is the right range for isolation work and controlled compounds, and it sets a realistic ceiling for how heavy a movement can stay smooth. The planning move is to design sets around the pins you actually have, and to treat the heavier stations as where volume lives. When the pins stop matching the goal, the fix on a fixed stack is tempo and range of motion, not more load.
How Joint Angle Determines Which Muscles Get Trained
Here is where biomechanics quietly decides more than the exercise name. The same pulley, with the same selector pin, trains a different muscle mix depending on which joint it crosses and which side of that joint you push or pull from. A seated row with the elbow high and close to the torso loads the mid back and rhomboids; the same cable and the same weight, with the elbow driving behind the torso, loads the rear shoulder and mid back in a different pattern. On the front side of the body, the pressing path from a low pulley emphasizes the chest and front shoulder, while a straight-arm path from the same low pulley moves the load onto the triceps. One station, one pin, two completely different training effects, decided entirely by the angle at the joint.
This angle logic reaches the hips. Run the line from the floor pulley up to the overhead one, and the joint it crosses becomes the hip, so a hinge-and-extension pattern loads the glutes. The glute-dominant movement keeps pin tension steady from full flexion to full extension, which free weights cannot match at the deepest stretch. That is the one place home gym biomechanics favors the cable; a low-to-high pulley swap is the cheapest glute work a compact setup can add.
Where Hip Extension Takes Over at the Pulley Station
The glutes take over where the pulley line crosses the hip joint. With the legs fixed and the cable running from the floor pulley up to the overhead one, hip extension drives the movement while the line holds its tension steady from the deepest flexion to full extension, the stretch free weights fade through. The same curve is what a glute bridge built around a cable relies on; the range the hip travels decides which muscles earn the work.
This is the reason a weekly plan should be organized around movement directions, not exercise names. If two stations both happen to cross the shoulder in a pushing pattern on the same day, one of them is doing redundant work, and the plan should drop the weaker of the two rather than run both to failure.
Weekly Sessions per Muscle Group
Most of the early strength you gain in the first six to eight weeks on a cable machine comes from the nervous system learning the movement pattern, not from new muscle tissue, and that learning happens at surprisingly low volume. Two sessions per muscle group per week, with each session running three or four working sets, is a minimum effective dose that fits a home schedule and still produces a measurable rise in one-rep capability by week four. Beyond that point the tissue response takes over, and the weekly target becomes six to ten working sets per muscle group, spread over the two sessions, with the number nudged up by one set at a time once the current total is completed cleanly.
The scheduling detail that matters is spacing. A muscle group that is worked hard in session one needs a full day of distance before session two, because the tissue repair that turns the load into strength happens during that gap, not during the work itself. A clean way to hold that spacing is an upper/lower split that repeats twice a week, which puts seven full days between any two sessions of the same group and gives the repair window room to work.
Progressing Safely Without Overreaching
Progression on a pulley machine has three levers, and they are not equal. The first and smallest lever is load, moving the selector pin up one stop when the last set of the range is easy on every rep. The second and bigger lever is tempo, adding two seconds to the lowering phase of each rep, which raises the time under tension without touching the stack and is the correct tool when the joints are still adapting. The third lever is range itself, adding a short two-second hold at the end of the arc where the muscle is most stretched, which concentrates the tension exactly where the constant-resistance physics says it will do the most for tissue growth.
A simple rule keeps all three levers honest: only one lever moves at a time, and only after the current position is completed cleanly for two full sessions. The moment the pin is raised and the tempo is reset, the next two sessions are a re-verification, and the log entry for those sessions should say so, because that is how you tell a real gain from a lucky good day.
What a Two-Day Split Actually Looks Like on the Pins
The two-session weekly plan described above becomes concrete on a machine with a central weight stack. The SincMill's stack is built around a central 148-pound weight column, and the same selector-pin logic applies to any comparable stack: pick the movement, seat the pin, and the tension is set for the whole set.
Day 1 - Press and pull (chest, back, arms): * Chest press: three sets, eight to twelve reps * Lat pulldown: three sets, eight to twelve reps * Leg press: three sets, ten to fifteen reps * Triceps pushdown: two sets, ten to fifteen reps * Bicep curls: two sets, ten to fifteen reps
Day 2 - Legs, rowing, and flyes: * Leg extension: three sets, ten to fifteen reps * Seated cable row: three sets, eight to twelve reps * Butterfly (pec deck fly): three sets, ten to fifteen reps * Standing hamstring curl: two sets, ten to fifteen reps, per leg * Upright row (low pulley): two sets, ten to fifteen reps
The order matters less than the spacing: run Day 1 and Day 2 on non-consecutive days with at least one rest day between them, so the two sessions per muscle group per week stays the target described above. Every movement on this list loads a different joint angle on the same stations, which is the point of the joint-angle section - changing the angle changes which muscle is doing the work on the same pin setting.
Home Cable Machine Setup Considerations
The biomechanics described so far only hold if the machine is set up so that the cable path matches the way the movement is supposed to load the joint, and the setup details are where a lot of home gym biomechanics gets quietly lost. Three things decide whether the tension the stack delivers is the tension the joint actually feels, and all three are decided before the first rep of the first week.
Placement comes first. The machine sits on a level, hard surface with clearance on every side of the range, and the direction of the main cable runs parallel to the wall or window behind it so the weight stack sits at the back of the room and the free space opens toward the front, which is the direction you move through when you step up to a press or a row. When the room is the constraint, which it almost always is in a home, the machine ends up closer to the wall than it wants to be, and the rule that keeps it usable is leaving at least three feet of front clearance so the cable is never at its shortest when you finish a movement, because the shorter the cable path at the end of the rep, the steeper the angle change and the more the load profile drifts off the constant-tension shape this whole article is built on.
The cable path is the second piece and the one that is easiest to get wrong. Every deflection the line takes around a pulley is a small loss, and the more bends the path has, the more the effective load drifts off the pin value, and the harder the friction gets on the stack as the machine ages. The path that keeps the tension closest to the selector value is the shortest clean run from the top sheave to the handle with no post or bracket pinching the line, and the practical check is to run a light load up and down the full range while watching each pulley in turn, and any pulley that skips, grinds, or lets the line jump its groove is the one to stop and fix, because a binding point on the line is exactly the kind of event that sends a load spike into a stretched position instead of the flat tension the design promised. The machine that owns the back-pull pattern the most cleanly, a dual pulldown and mid-row setup, is a good reference for what the cable path on that side of the room should look like when the routing is done right, and the setup notes in that guide for the dual lat pulldown and mid row machine are a useful cross-check for anyone wiring the same pull station into a home corner.
The space habit is the third piece. The machine is not a shelf, and the habit of stacking plates, bags, or boxes on the frame or across the cable run is the one that quietly undoes both of the first two, because anything touching the line or the stack's travel changes the friction term and shows up as a set that suddenly feels heavier at one end of the range than the pin says it should be. A clear floor arc, a clean cable path, and unobstructed stack travel are the three visible checks that take two minutes and keep the physics true to the box the machine ships in.
Machine Habits That Keep Joints Safe
The protective habits on a cable machine are fewer than on free weights, because the machine already controls the path, but they are more specific. Before the first set of a session, the seat and backrest are positioned so that the cable's line of pull lines up with the joint you are training, and that alignment is checked with the full range done empty, not mid-set. An arm-curl pad, where the machine provides one, is the small detail that makes standing curls comfortable instead of a compromise, and the selector pin is confirmed seated on each change, because a pin that is only half in is the equivalent of a loaded weight that moves on its own. If the stack begins to catch or the cable rubs on the pulley groove during a set, the set is stopped early and the machine is inspected, because forcing the last rep through a binding line puts a sudden spike into exactly the stretched position the constant tension is supposed to protect.
After the session, a short cool-down that moves the trained joints through their full range is the cheapest available fix for the stiffness that makes the next session harder to set up well, and it is what keeps the habit repeatable on a machine you will see every day for years.

One more habit that keeps the machine reliable year over year: the guide rods that the weight stack slides on want a regular pass of the manufacturer's recommended lubricant, because dry rods are where sticking and loud operation start. Bolts should be re-checked after the first month of use and periodically after, and the cables themselves deserve a visual pass for fraying or the stack catching, because a cable that snaps under load is the one failure the machine cannot recover from on its own.
A written log is where the mechanism compounds: without it, progress disappears between sessions. Once a session is written down with its station, movement direction, pin position and rep count, the next session has a concrete target to beat, which is the entire engine of progress on a machine with a fixed number of stops. If motivation dips, the session is shrunk to its minimum, not skipped, because the weekly total is what the tissue is actually responding to, and the habit outlasts any single piece of equipment; the weekly total is the input, and everything in this guide is the machine around it.
SincMill SCM-1148L Home Gym Multifunctional Full Body Workout Equipment
Related Essays

Why Hip Abductors Matter for Squat Strength
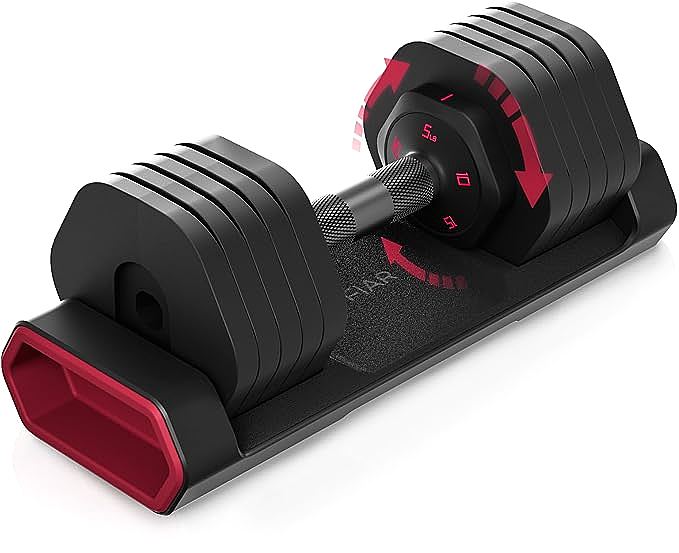
Fiar Adjustable 5-25lb Dumbbells - Compact and Versatile Strength Training
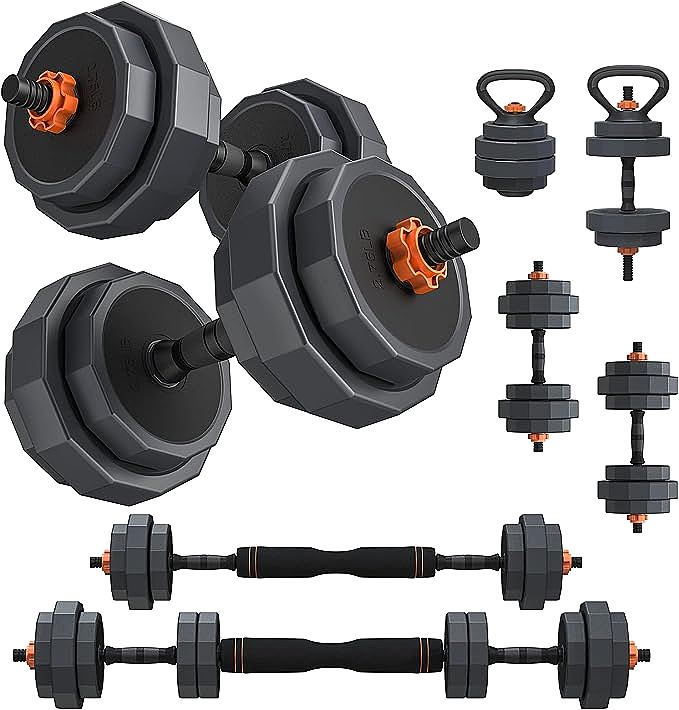
: Lusper Adjustable Weight Dumbbell Set - Versatile and Convenient Home Gym Equipment
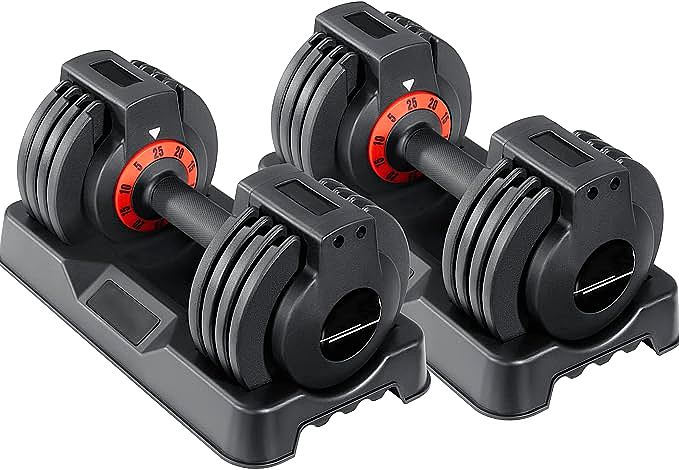
ACCPO DB2518 Adjustable Dumbbells Set - Convenient and Space-Saving Home Gym Equipment
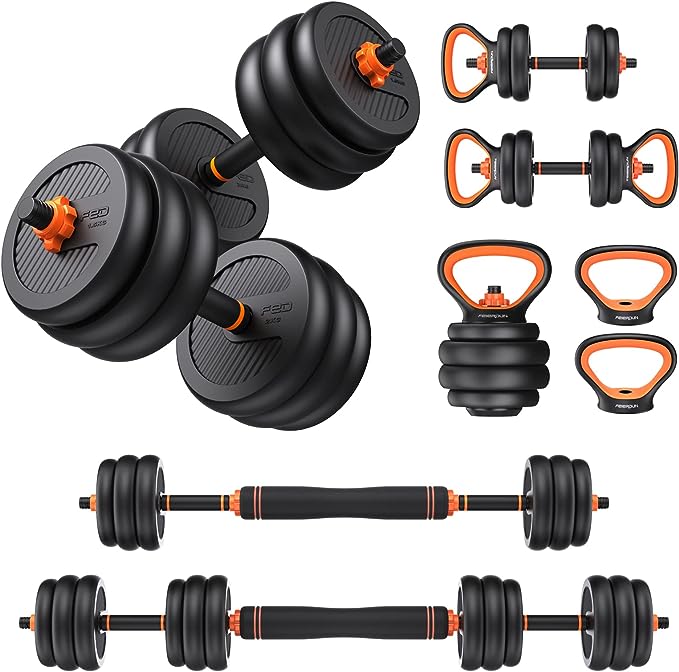
FEIERDUN Adjustable Dumbbells - Versatile and Customizable Strength Training

The Engineering of the Combo-Machine: Leg Press vs. Hack Squat Biomechanics

The Gazelle Glider's Secret: A Biomechanics Mentor's Guide to "Suspended" Exercise

Total Gym Split Incline Rowing Machine: Full-Body Workout, Compact Design

Valor Fitness CC-10 Vertical Leg Press: Biomechanics & Home Gym Benefits
